Initial Setup
This page walks you through what to do after installing Restorify. The app requires no per-issue configuration — you just add the projects you want to protect and choose how much detail to capture.
Required: Manage deleted issue backups permission (granted to Jira Administrators by default).
Where to find App Settings
Go to Jira Settings (cog icon, top right) → Apps → Restorify – Restore Deleted Issues.
This is the central administration panel. From here you can manage tracked projects, configure retention, and monitor system health.

Step 1 — Add your first project to tracking
By default, tracking is off for all projects. Nothing is captured until you explicitly add a project.
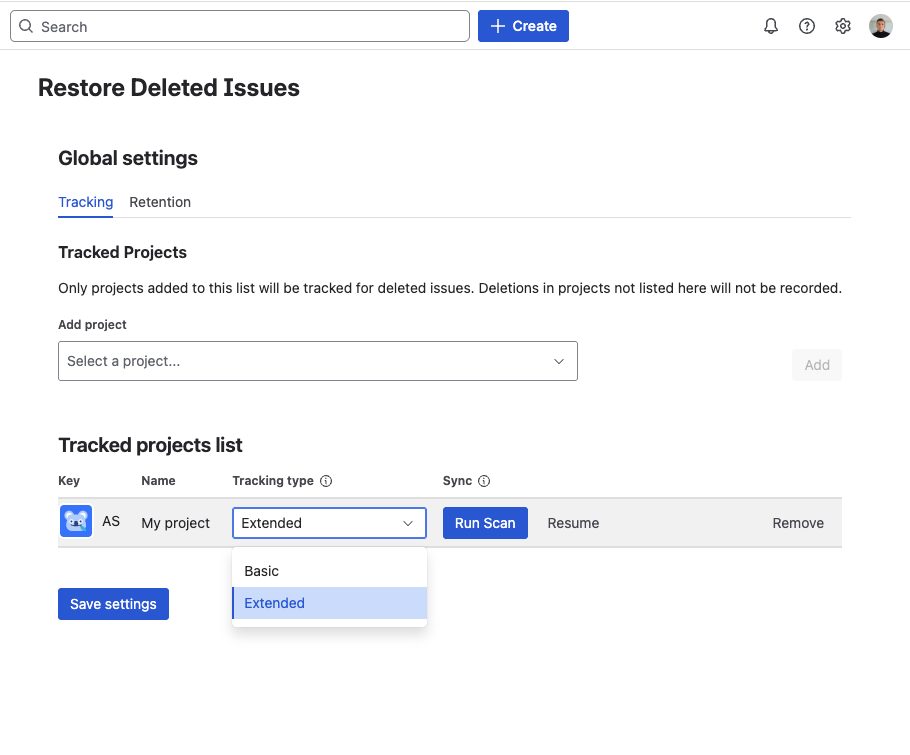
- In App Settings, click the Tracking tab.
- Click Add project.
- Select the project from the dropdown.
- Choose a tracking profile — Basic or Extended (see below and Tracking Profiles).
- Click Add.
The project is now tracked. Any issue deleted in this project from this point on will be automatically captured.
Step 2 — Choose a tracking profile
When adding a project, you select one of two profiles:
Basic — recommended for most projects
- Captures all standard fields, description, and custom fields from the deletion event
- Works immediately, including for issues created before the app was installed
Extended — recommended for production or compliance-sensitive projects
- Captures everything in Basic, plus comments, worklogs, issue links, and subtasks
- Built incrementally on each issue create and update event
- Requires a Project Scan for issues that existed before tracking was enabled
If you are unsure, start with Basic. You can change the profile for a project at any time — the change applies to future issues immediately.
Step 3 — Run a Project Scan (Extended profile only)
If you enabled Extended profile on a project with existing issues, run a Project Scan to build snapshots for all active issues that haven't been updated since the app was installed.
In the Tracking tab, find the project row and click Run scan.
The scan runs in the background — you can safely close the browser tab while it runs. Progress is visible in the Tracking tab.

You only need to run this once per project. After the initial scan, all subsequent creates and updates are captured automatically.
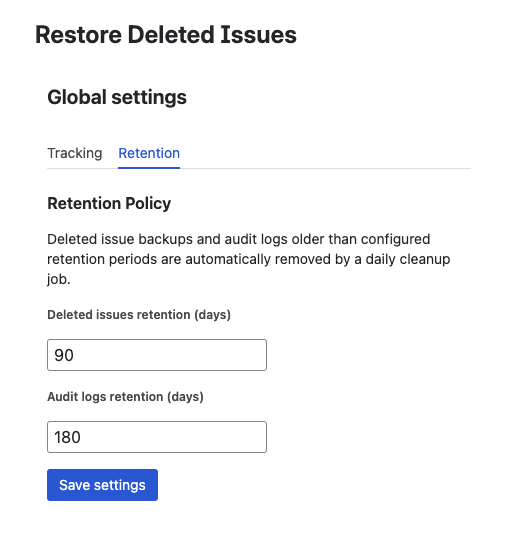
Step 4 — Configure retention policy (optional)
The default retention is 90 days for deleted issue records and 180 days for audit records. If your organization has different requirements, adjust these values in App Settings → Retention Policy before data starts accumulating.
You're ready
The app is fully operational. Every issue deleted in your tracked project is now captured automatically.
From this point on you don't need to do anything — deletions are recorded in the background as they happen. When you need to recover something, open the Deleted Issues panel, find the record, and restore.
What's now available:
- Deleted Issues panel — accessible from the project sidebar; lists every captured deletion with search and filters
- Detail view — full snapshot of the deleted issue including all fields, comments, and worklogs
- Restore — recover any issue selectively, choosing which parts to bring back
- Audit Trail — immutable log of every deletion, restore, and settings change
- Dashboard Gadget — add deletion and recovery metrics to any Jira Dashboard
What's next?
- Configure Tracked Projects — manage the full project list
- Tracking Profiles — Basic vs Extended — understand the difference in depth
- Browse Deleted Issues — see how to search and inspect records