Import / Export
Spent hours perfecting a template in a sandbox? Need to hand a polished set of templates to another team — or another customer? Templify packages any template, together with its full sub-issue hierarchy, links and configuration, into a single portable file. Use it to recreate the template cleanly on a different Jira site.
Estimated time: 2–5 minutes per template · Role: Jira user with the Manage Templates permission
Why use it
- Promote safely — design and validate in a sandbox, ship to production with one file
- Standardize across teams — adopt a proven template from another department instead of rebuilding it
- Move between customers — consultants and partners can package best-practice templates as a deliverable
- Portable snapshot — keep a copy outside Jira; restore by importing into a clean target site
This is an administrative action, not a day-to-day flow. To create issues from a template that already exists on your site, see Create Issue using Template.
How it works
You export from the source site and import on the target site. The exported file is self-contained — the two sites do not need any direct connection. Before anything is created on the target, you get a full preview report of exactly what would happen, with skipped or ambiguous items called out.
Export a template
Open the Issue Templates page
On your source Jira site, open the Issue Templates page from the Templify menu.
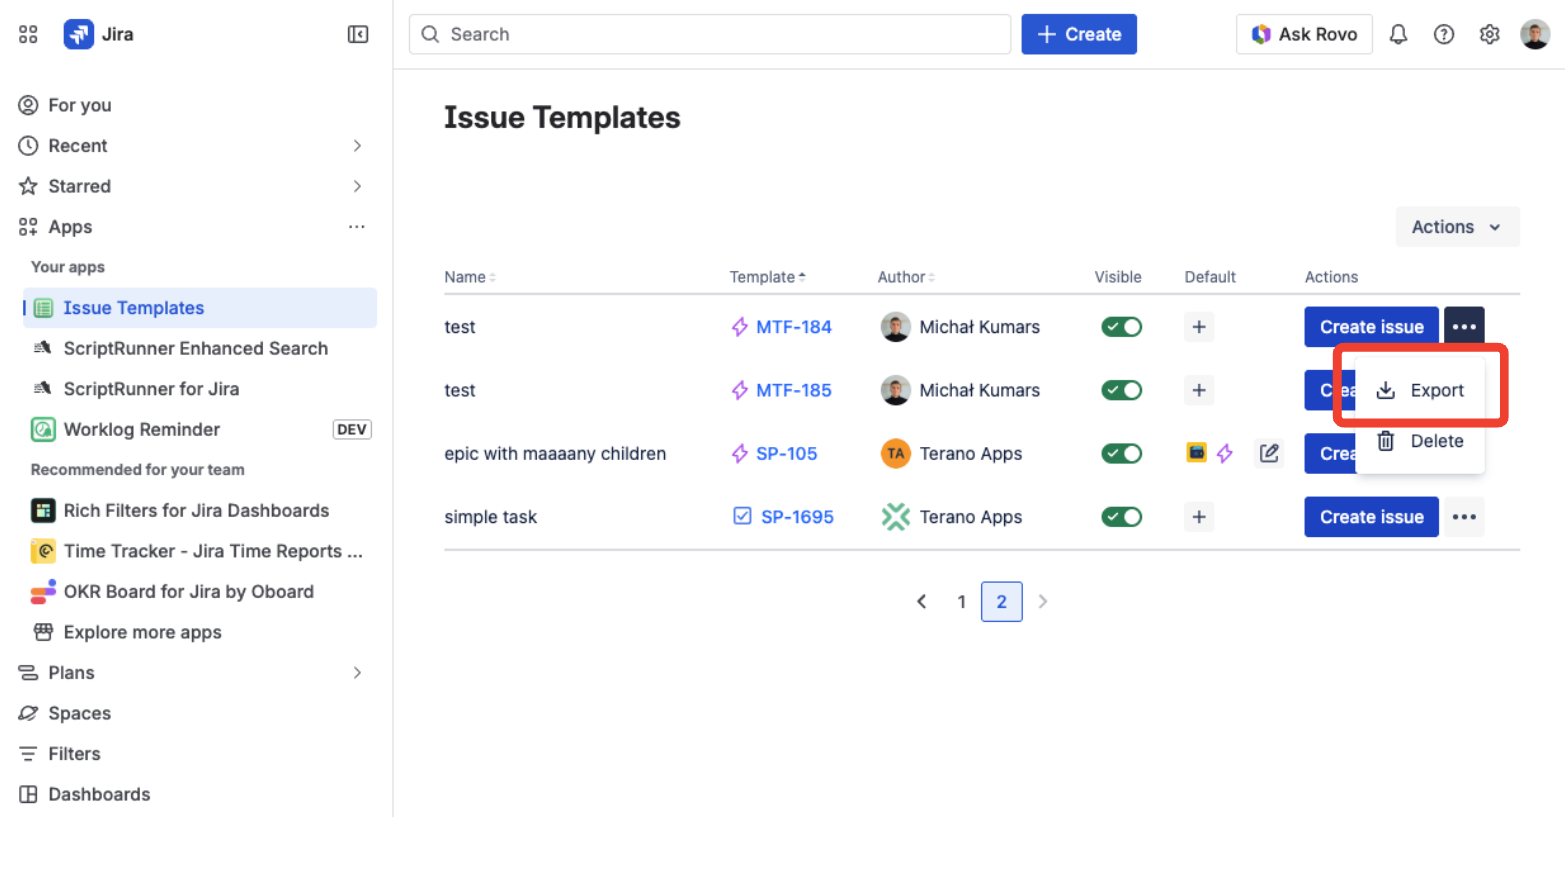
Issue Templates page in the Templify menu
Export
Find the template you want to move, open its row menu, and choose Export. Your browser downloads a file named after the template.
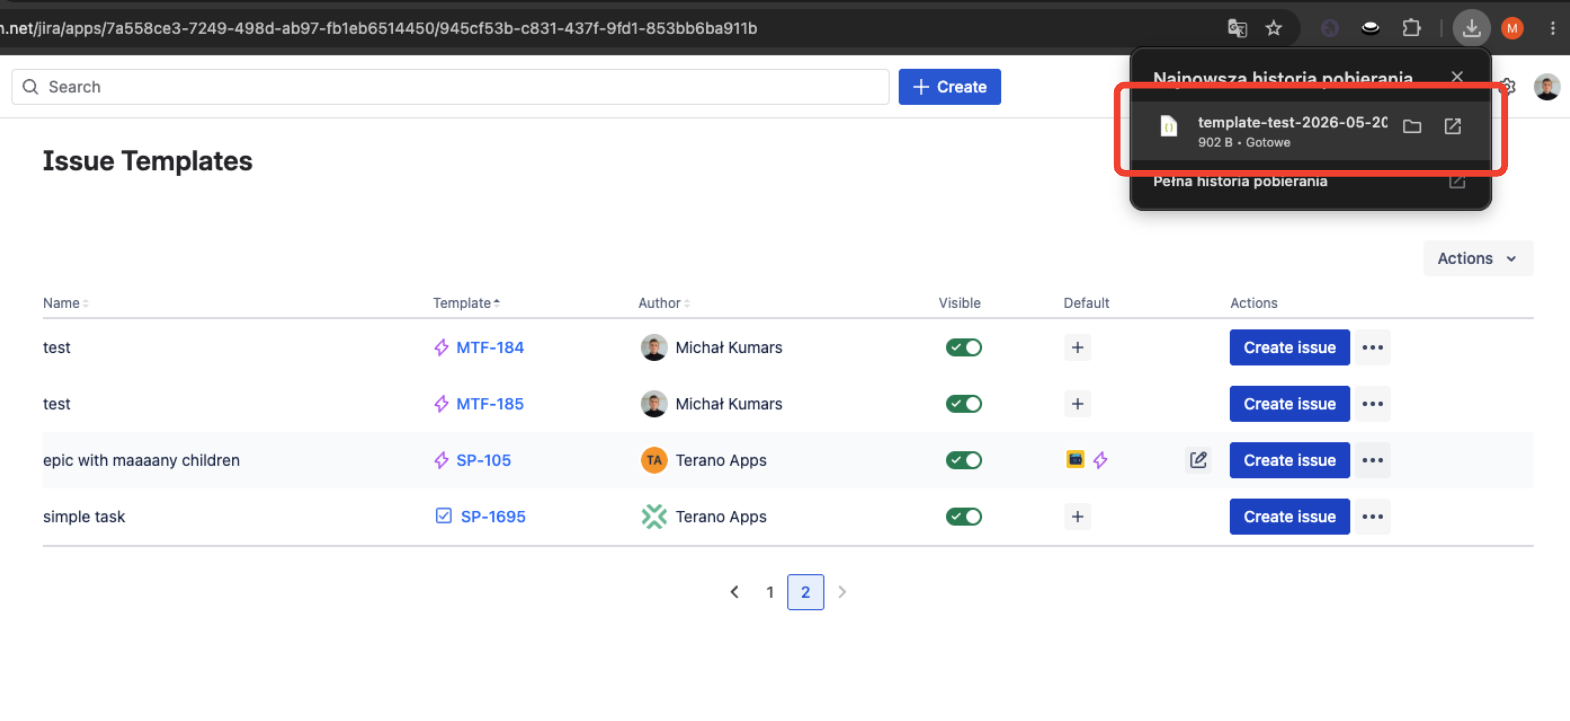
Exported template file in the browser download panel
Import a template
Open the Import dialog
On the target Jira site, open the Issue Templates page and click Import.
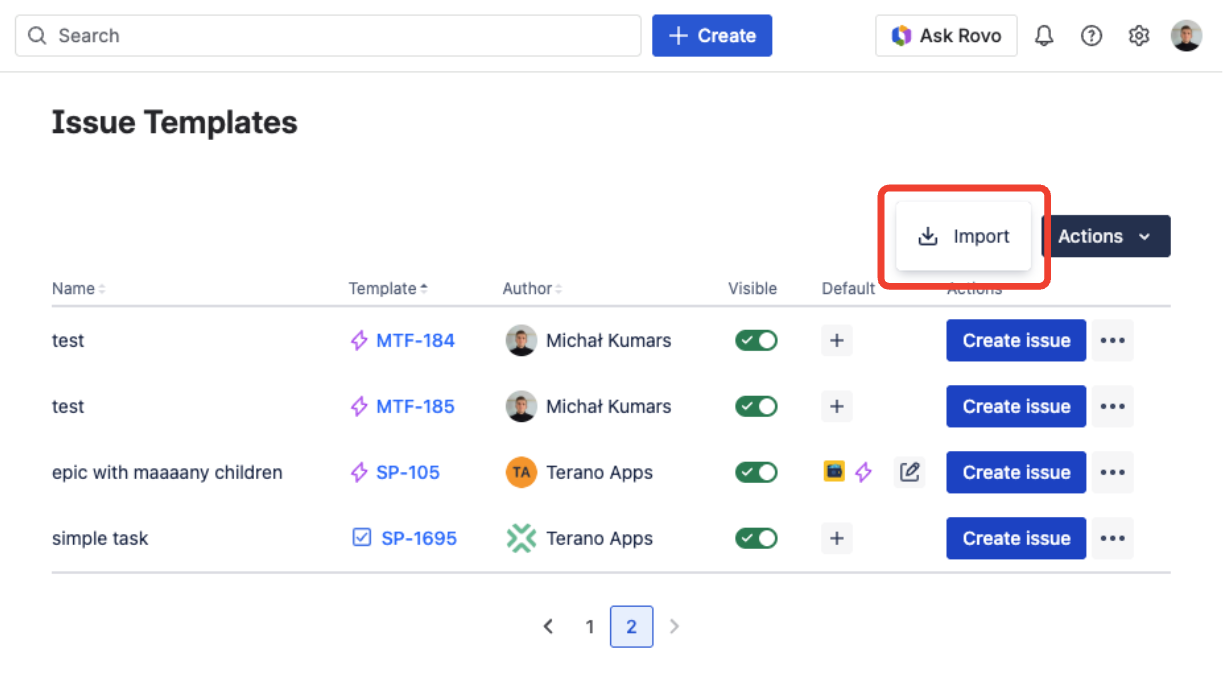
Import action in the Issue Templates page menu
Pick the file and target project
Choose the file you exported earlier, then choose the project where the template (and its sub-issues) will live.
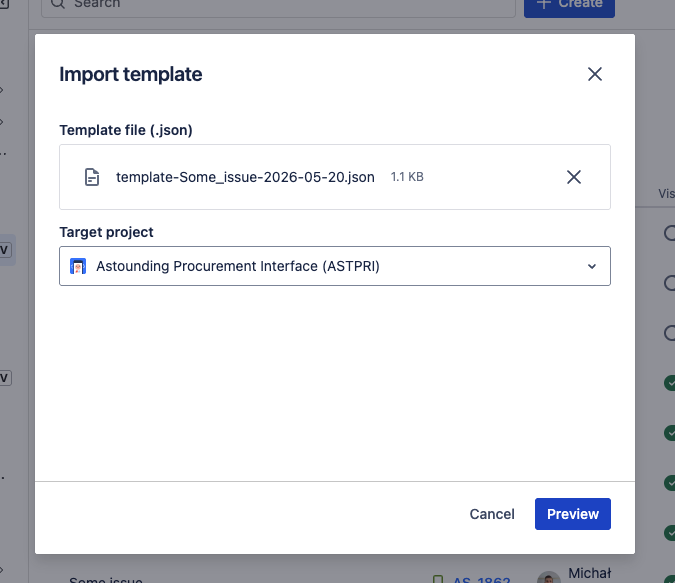
Exported file and target project selected in the Import dialog
Review the preview report
Click Preview. Templify reads the file, matches it against the target project, and shows exactly what would be carried over and what would be skipped — without creating anything in Jira yet.
If the skipped list is longer than you expected, cancel and adjust the target site (or ask a Jira admin to rename the field back, add the missing issue type), then preview again.

Import preview report — what would be created, and what would be skipped
Confirm
Click Import. The issues are created in the target project, links inside the hierarchy are restored, and the new template is registered. A confirmation appears with a View issue action that opens the new template in Jira.
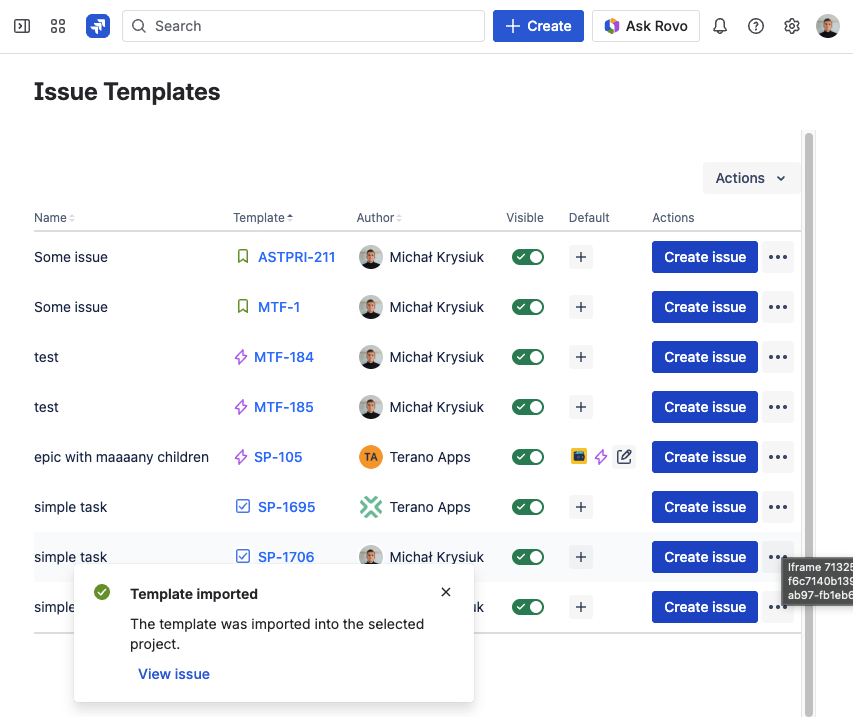
Confirmation after a successful import, with a shortcut to the new template
What gets carried over
The full template travels with the file. That means the template name and root issue type, every field value (including formatted descriptions, priority, labels, due date and custom fields), the entire sub-issue hierarchy down to subtasks, the issue links between those sub-issues, and the Templify configuration — dynamic fields and skip fields — for the root and each sub-issue. In short: everything you would see if you cloned the template inside the same site.
A few things deliberately stay behind, because they wouldn't make sense on the target site:
- Assignee, reporter and creator — users don't exist across sites
- Attachments and comments — rarely part of a template's purpose
- Sprint, board and other project-scoped values — only meaningful in their original project
- Availability scope and default-template assignments — set these up on the target after import (see Template Availability and Use Templates as Defaults)
How matching works
Templify matches everything by name. Internal references differ between Jira sites, so names are the only stable bridge.
| What Templify matches | Match rule | If no match is found |
|---|---|---|
| Issue type (root) | Name (case-insensitive) | Import stops with a clear message |
| Issue type (child / subtask) | Name (case-insensitive) | The issue is skipped, along with anything under it |
| Custom field | Name | The field is skipped and listed in the report |
| Dynamic field | Name + compatible field type | Skipped if the type doesn't match, with the expected vs. actual type shown |
| Issue link type | Name | The link is skipped and listed in the report |
On the source site you have a custom field called Customer ID. On the target it was renamed to Client ID. The field still exists — but Templify can't match it by name, so its value is skipped and listed in the report. You either rename it back, or accept the skip and set that field manually on the imported template.
Recovering from a partial import
Sometimes Jira on the target rejects one of the sub-issues mid-import — most often when a field is required on the target but empty after matching. When this happens, Templify still imports everything it could and shows a warning flag with a link to the new template's main issue. Nothing is silently lost; everything is in the report.
You have two clean options:
- Finish manually. Open the new template, review the preview report (also visible in Audit Logs), and add the missing fields or sub-issues by hand.
- Roll back and retry. Delete the partial hierarchy from Jira yourself, fix the cause on the target site (add the missing field, enable the issue type), then import the same file again.
Good to know
- You need the Manage Templates permission to export or import — see Permissions.
- Re-importing the same file creates duplicates — issues and any links inside the hierarchy. Import each file once per target site.
- One template per file, with its full hierarchy. Bulk import/export is not supported today.
- A single file holds up to 500 issues and is at most 2 MB.
- Every export and import is recorded in Audit Logs: who, when, and a summary of created vs. skipped items.
- Exported files contain template content only — no credentials, no user data — and are safe to share through normal channels.
FAQ
Can I import several templates at once?
Not today — one template per file, with its full hierarchy. Repeat the import for each template you want to move.
What happens to fields that don't exist on the target site?
They are skipped and listed in the preview report, grouped by reason. The template is still imported; those fields simply stay empty on the new template, ready for you to configure.
Can I edit the exported file by hand?
The file is meant to be produced and consumed by Templify. We don't recommend editing it manually — make your changes in Jira (on the source template before export, or on the imported template after).
Will the assignee or reporter be carried over?
No. Users don't exist across sites, so Templify never exports assignee, reporter or creator. Reassign on the new site after import if you need to.